
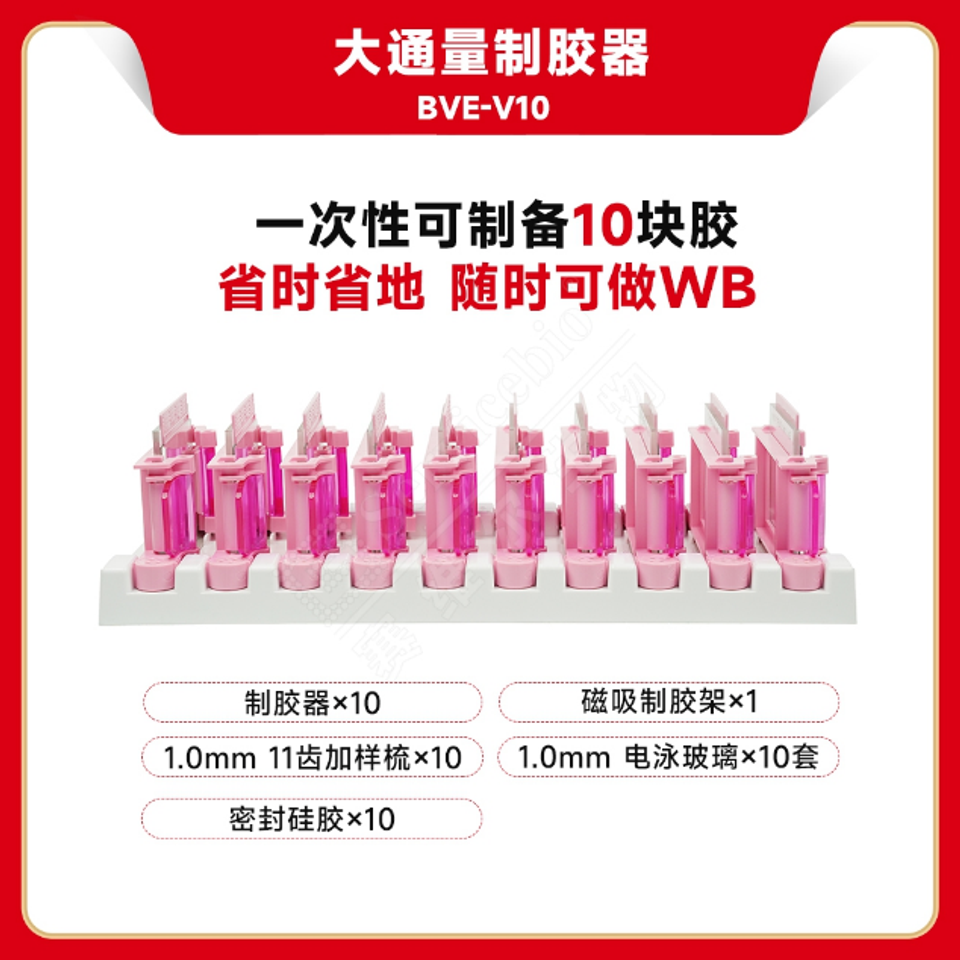
High-Throughput Gel Casting Stand
Cat. No.: BE-BVE-V10
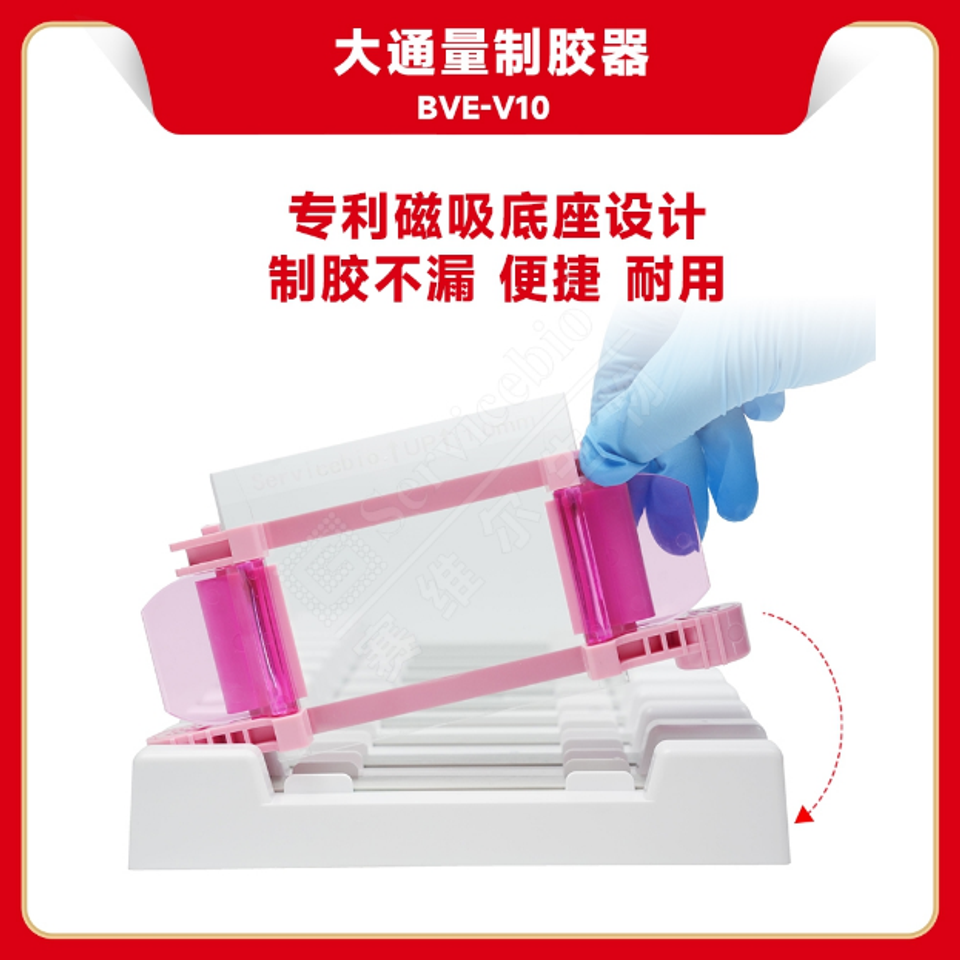
Can prepare 10 gels at once with patented magnetic base design - leak-proof, durable and easy to operate for more efficient WB experiments.
Product Overview
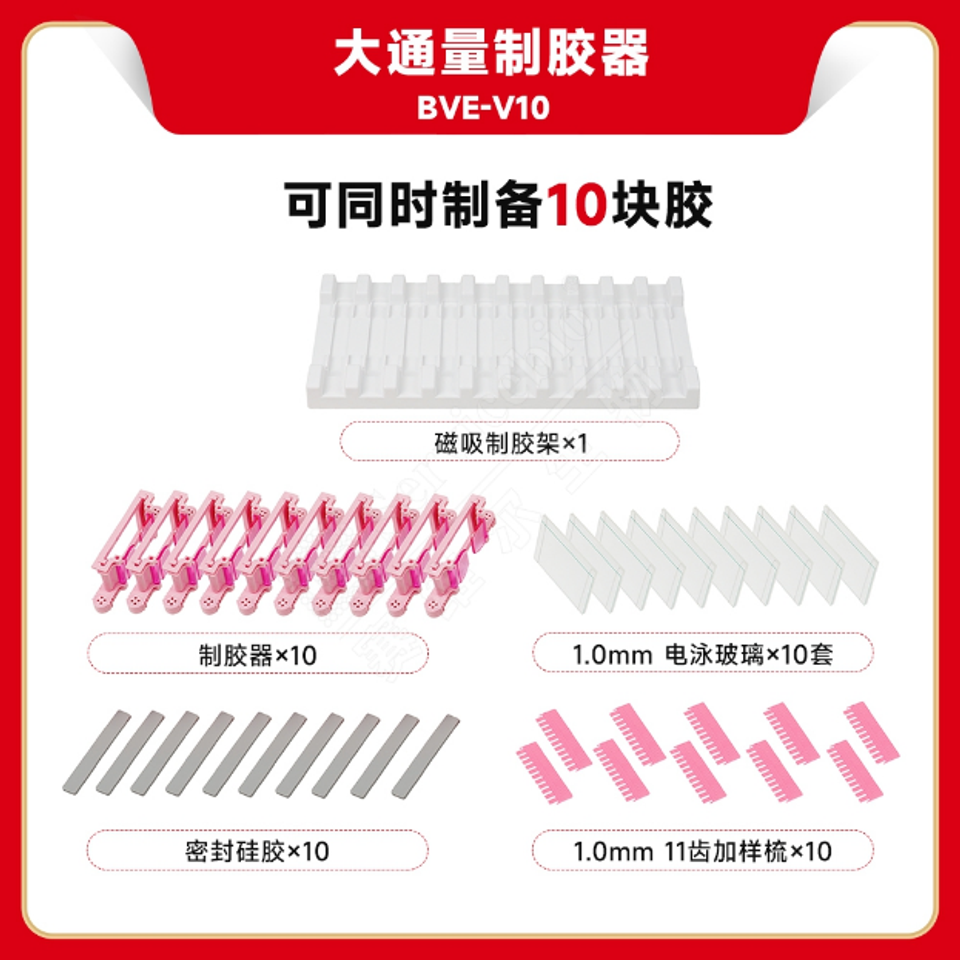
Designed for preparing SDS-PAGE gels, this system can produce up to 10 gels simultaneously with thickness options of 0.75 mm, 1.0 mm, or 1.5 mm. The gel-casting stand features a magnetic base and user-friendly clips, making gel preparation more convenient and efficient.
When used with the gel casting stand (T-20), it enables batch preparation of 4%–20% gradient gels or uniform-concentration gels in a single run, improving Western blot (WB) efficiency and consistency of results.
Product Parameters
| Catalog # | BE-BVE-V10 |
|---|---|
| Gel Size | 83x73 mm |
| Dimensions | 408x177x86 mm |
| Compatible Glass and Spacer Specifications | 1.0 mm: 11-tooth/15-tooth |
| 1.5 mm: 11-tooth/15-tooth | |
| 0.75 mm: 11-tooth/15-tooth | |
| Sealing Rubber Size | 115x18x5 mm |
| Maximum Pressure Capacity | 10 plates |
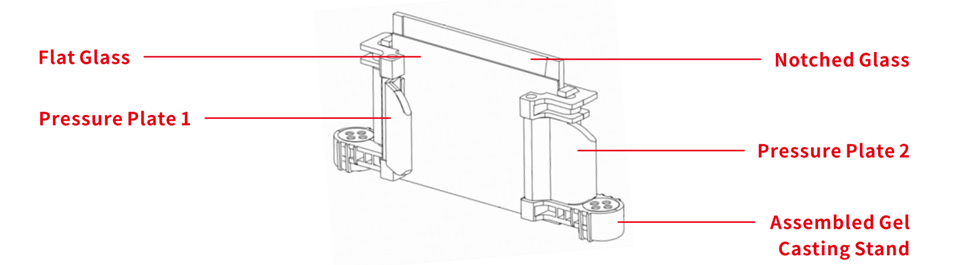
1. Preparation
- Place the gel casting clamp on a flat, stable surface.
- Fully open the pressure plates on the clamp (Pressure Plates 1).
- Insert the flat glass plate and the notched glass plate.
- Ensure that the flat glass plate is aligned with the bottom opening of the notched glass plate.
- Secure both sides by tightening the pressure plates (Pressure Plates 2).
Note
Before starting, verify that:
Before starting, verify that:
- The flat glass and notched glass plates are properly aligned and separated.
- The glass assembly is fully sealed.
- The pressure plates at both ends are securely fastened.
2. Gel Casting
- Attach one end of the gel casting clamp to the plastic base plate.
- Press the opposite end firmly onto the base plate until it snaps into place.
- Pour the gel solution between the two glass plates until it reaches approximately one-third to one-quarter of the height of the metal spacer (adjust as needed).
- Gently tap the glass plates to ensure even distribution of the gel solution and to minimize air bubbles (refer to Figure 9 for guidance).
- Allow the gel to polymerize for 20 minutes to 1 hour. During this time, ensure that no leakage occurs.
- Use absorbent paper to remove any excess gel solution.
- Overlay the top of the gel with additional solution (ensuring the level aligns with the top of the flat glass plate), then insert the comb.
- Allow the gel to polymerize completely for an additional 30–45 minutes.
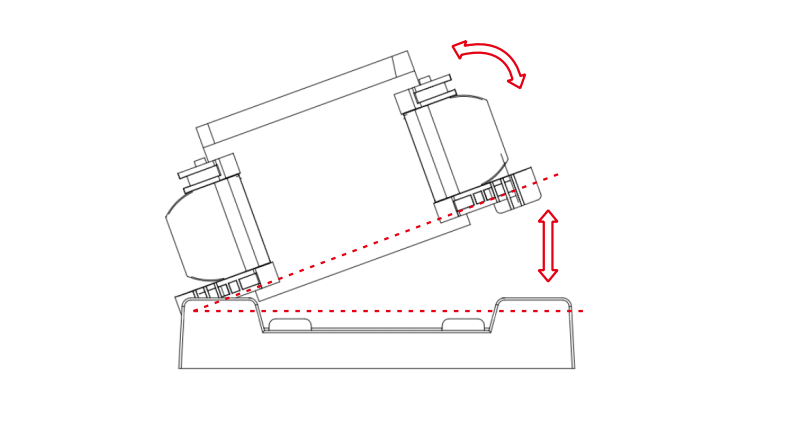
Figure 9.